Nail Prep Guide: Why proper dehydration prevents gel peeling
For beginners, mastering the prep work on the nail is more important than the art itself. The primary reason for premature peeling is often improper preparation of the nail plate or inadequate curing.
* Prioritize cuticle cleaning to prevent lifting. * Dehydrate the nail plate completely to ensure adhesion. * Apply thin, even layers of gel to avoid shrinkage. * Focus on the "seal" at the free edge to prevent chipping.
Why does my gel polish peel off from the nail after three days? At my desk late Tuesday, I felt a sharp sting as I noticed a large piece of polish lifting away from my nail.
The frustration of spending two hours on a design only to have it crumble by Tuesday is a universal experience for anyone attempting DIY gel.
According to the Los Angeles Department of Public Works, nail polish is considered a hazardous waste.
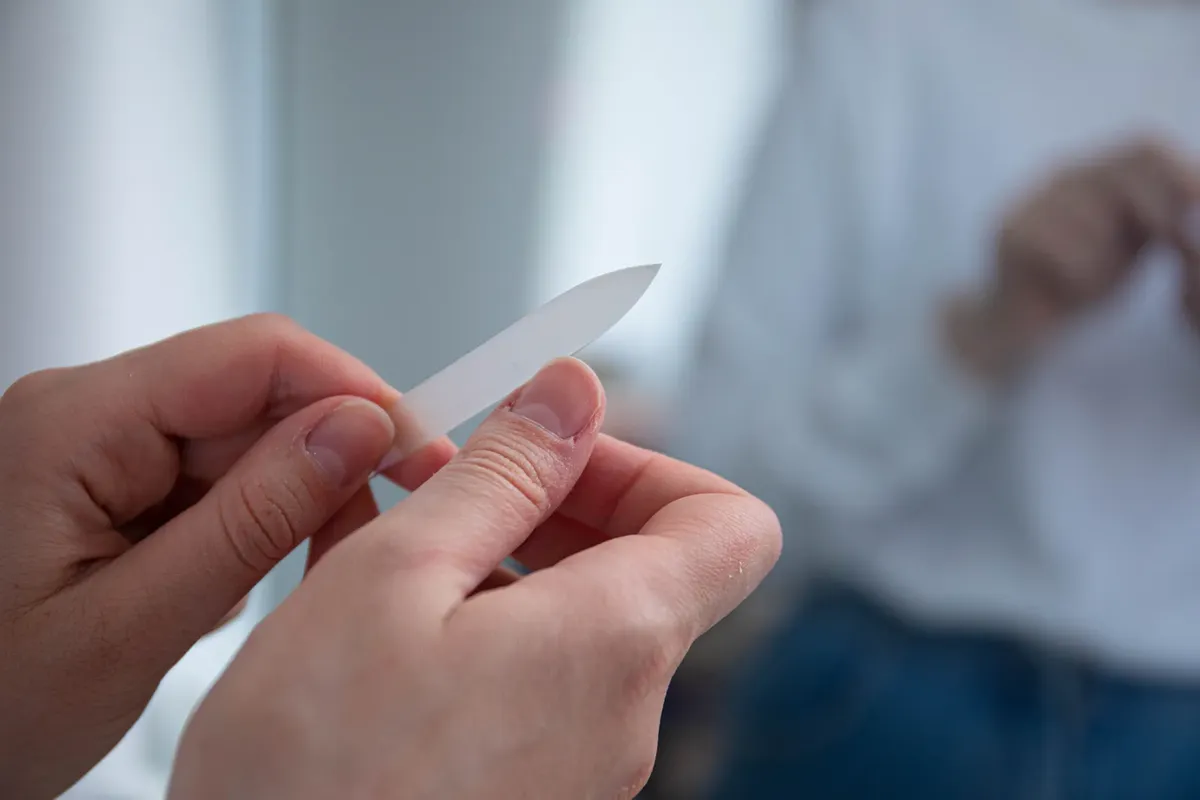
If oil, moisture, or dust remains on the nail when the gel is applied, the bond between the product and the natural nail will be weak.
This often results in "lifting," where the gel pulls away from the nail surface.
To prevent this, you must follow a strict cleaning ritual. Start by using a pusher to gently lift the cuticle away from the nail plate. If the cuticle skin is still attached to the nail, the gel will sit on top of the skin rather than the nail, causing it of course to peel.
- Push back the cuticles with a metal pusher. 2. Use a fine-grit buffer to remove the shine from the nail. 3. Clean the surface with a lint-free wipe soaked in isopropyl alcohol.
I found that using a high-percentage alcohol wipe made a massive difference in how long my polish stayed stuck. If the nail feels even slightly oily, the polish will not hold.
However, these issues may persist if the natural nail plate is excessively oily or damaged from previous removals.
How to handle cuticles without causing damage?
In the evening I hold nail and walk through the next step.
I held the small cuticle nipper in my hand, feeling the slight tension in my fingers as I looked at the ragged skin around my thumb. It is tempting to clip everything in sight to get that perfectly clean look, but one wrong snip can lead to painful hangnails or infections.
The goal of cuticle care is to manage the eponychium (the living skin at the base) and remove the dead tissue (the true cuticle) that sticks to the nail. You should never cut the living skin, as this triggers inflammation and makes the area more prone to peeling.
Instead of aggressive cutting, focus on gentle removal. Using a chemical cuticle remover can soften the dead skin, making it easy to wipe away with a wooden stick. This method minimizes the risk of cutting live tissue while still achieving a clean look.
* Apply a cuticle remover cream to the base of the nail. * Wait for the specified time to allow the product to work. * Gently scrape the softened dead skin away with an orange wood stick.
A mistake I made early on was trying to cut the side walls of my nails too deeply. This caused the skin to swell and become red, making it impossible to apply gel smoothly.
Note that aggressive cuticle pushing can lead to inflammation if the skin is too thin or sensitive.
What is the best way to apply gel for a smooth finish?
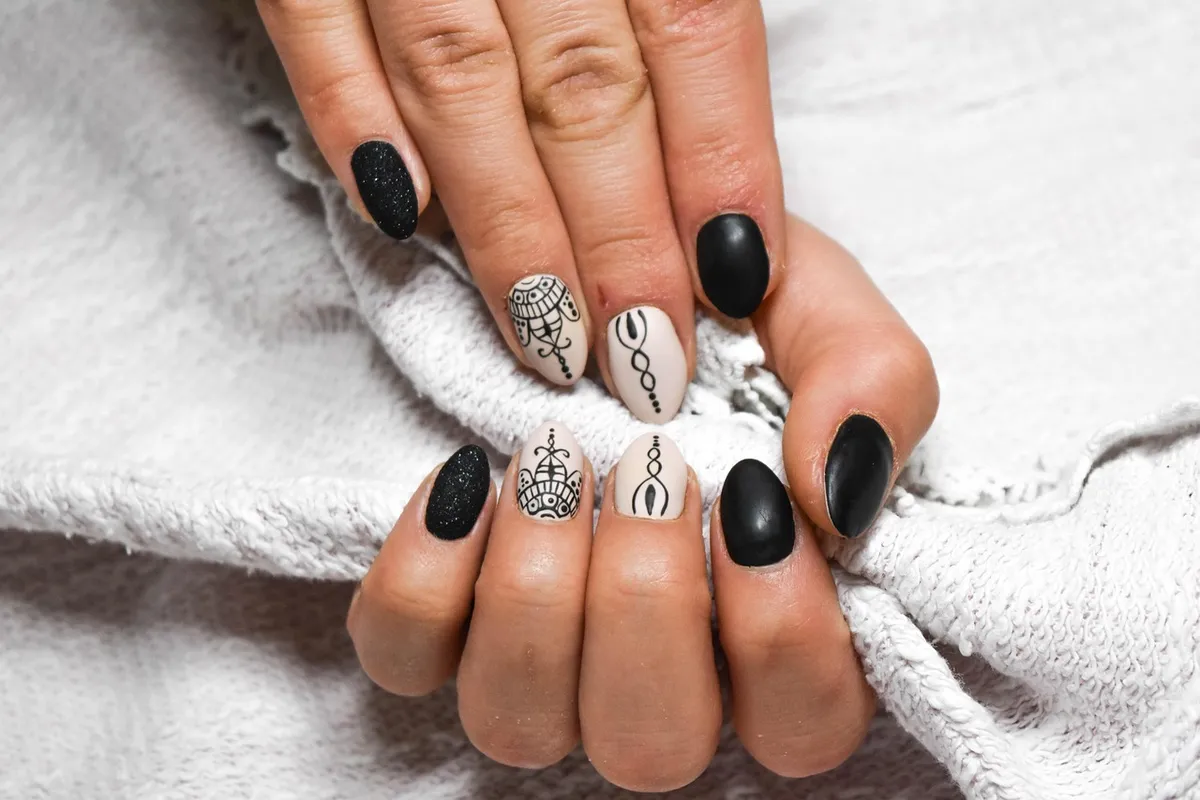
The lamp sat on my desk, its blue light casting long shadows across my workspace as I prepared to apply a fresh layer of clear base coat. A single thick layer might look easy to apply, but it is the most common mistake that leads to bubbling and uneven surfaces.
According to the Journal of community health, over 82% had poor/fair knowledge about health hazards associated with chemical compounds used in nail cosmetics with their levels of education acting as a key factor in 2020.
For a professional finish, you must apply gel in very thin, controlled layers. Thick layers are difficult to cure completely in the UV/LED lamp, which can lead to "soft gel" underneath a hard surface. This creates a mess when you try to file the nails or eventually remove them.
The base coat should be a thin, translucent layer that covers the entire nail but does not flood the cuticles. If the product touches the skin, it will lift almost immediately.
- Apply a very thin layer of base coat. 2. Cure in the lamp according to the manufacturer's timing. 3. Apply the color layer, ensuring the edges are capped.
I once tried to save time by applying a thick coat of color, only to find the entire nail felt gummy even after curing. Now, I always do two thin coats instead of one thick one.
Keep in mind that applying layers that are too thick can lead to shrinkage or uneven curing.
How do I prevent the "white gap" at the tips?
I stared at the edge of my index finger, where the color had pulled away from the very tip of the nail, exposing a sliage of natural keratin. This white gap is not just an aesthetic issue; it is a structural failure that allows moisture to get trapped under the polish.
To prevent this, you must "cap the free edge." This means running the brush along the very front edge of the nail after you have applied the color to the surface. This creates a wrap-around seal that locks the polish to the tip of the nail.
Capping the edge prevents the polish from chipping when you tap your fingers on hard surfaces. It also ensures that the polish doesn't slide off the tip during the curing process.
* Apply color to the nail bed. * Run the brush horizontally across the very tip of the nail. * Repeat this for every layer, including the top coat.
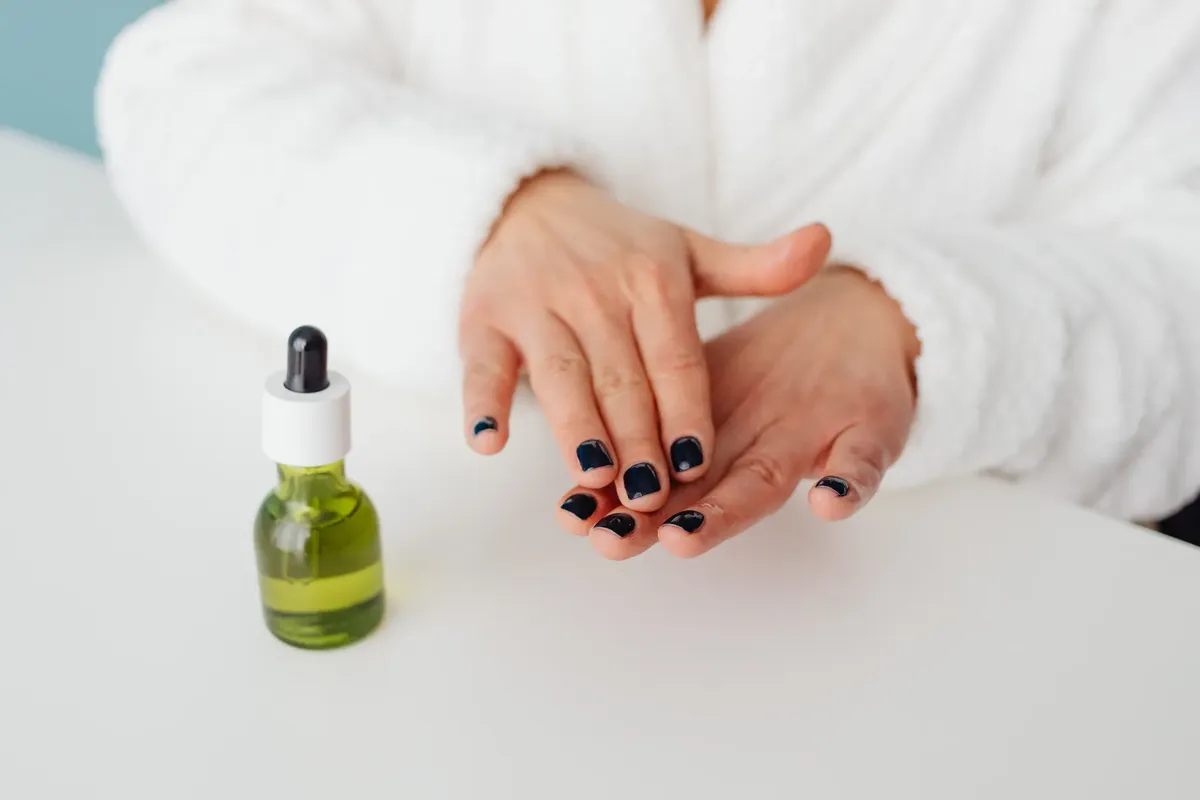
When I first started, I thought the tip was just a boundary, not a part of the application. Learning to wrap the product around the edge changed my manicure longevity entirely.
This technique may not be effective if the nail is too short to support the structure of the polish.
What to do when the gel lifts or peels?
I looked at the corner of my nail where the gel had lifted, creating a small air pocket that looked like a tiny bubble. It is tempting to just peel it off with my other fingers, but that action can rip off layers of the natural nail, leaving it thin and sensitive.
If you notice lifting, do not pull the product. Instead, you must carefully file down the lifted area to smooth the transition between the gel and the natural nail. This prevents the "ledge" from catching on hair or clothes, which would cause further peeling.
If the lift is large, it is better to remove the entire manicure and start fresh. If the lift is small, you can sometimes file it smooth and carefully re-apply a bit of base coat to the gap, though this is only a temporary fix.
* Identify if the lift is from the cuticle or the tip. * Use a fine file to smooth the edge of the lifted area. * If the nail feels thin or painful, remove the product immediately.
I remember the sting of peeling off a lifted nail once and realizing how much thinner my nail felt afterward. It was a painful lesson in why patience is necessary.
Simply patching a lift is not a permanent fix if the underlying cause of the separation is not addressed.
How to safely remove gel without ruining nails?
I sat with a bottle of acetone and a pile of cotton pads, feeling the weight of the task ahead. Removing gel is often more stressful than applying it, especially when the urge to scrape it off with a metal tool becomes overwhelming.
The only safe way to remove gel is through soaking. Using a pure acetone soak softens the polymer structure, allowing it to slide off the nail without mechanical force. Scraping or peeling can cause permanent damage to the nail plate, leading to thinning and peeling.
A proper soak requires patience and a bit of preparation to protect the surrounding skin.
- File the top shiny layer of the gel to break the seal. 2. Soak cotton pads in acetone and place them on the nails. 3. Wrap each finger in aluminum foil to trap the heat. 4. Wait 10-15 minutes, then gently slide the product off.
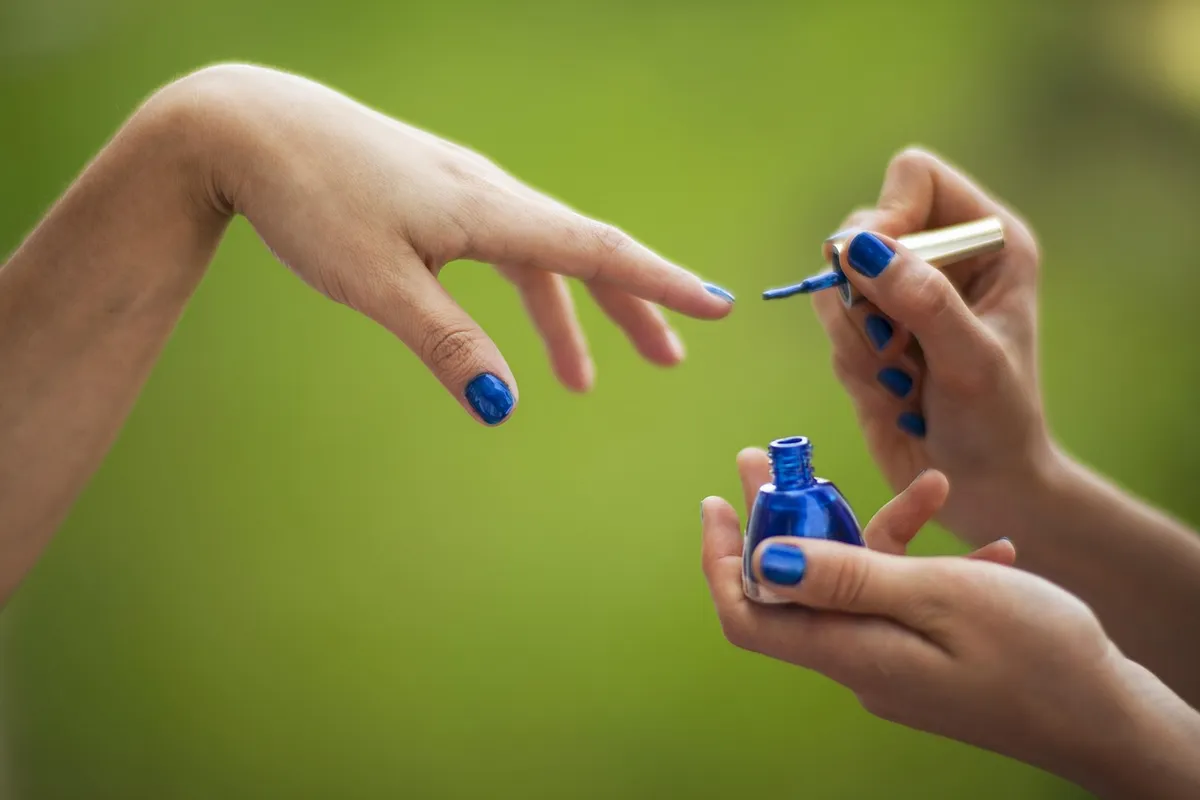
I always apply a thick layer of cuticle oil to my skin before starting a soak. This prevents the acetone from drying out my hands too much during the process.
The process can be difficult if the gel is extremely thick or if you are working in a cold room where the acetone evaporates too quickly.
This process is not a substitute for professional removal if the gel is heavily reinforced or thick.
According to Work (Reading, Mass.), the recorded figure is 6.
According to The World Health Organization, the recorded figure is 880.
The record names the year 2012.
| Item | Figure |
|---|---|
| 1 | 90% |
| 2 | 32% |
- "The secret to a salon-quality manicure at home isn't a fancy tool, but the patience to prep the nail plate correctly."
- To achieve a long-lasting gel manicure without peeling, you must focus on thorough cuticle removal and complete dehydration of the natural nail before applying base coat.
- I sat at my small wooden desk in my apartment, staring at a chipped fingernail that had lifted entirely from the tip, leaving a white gap.
Related

Comments 0